How to Frame a Poster Yourself
Framing a poster yourself is a great way to display your favorite art prints while keeping them protected. Whether you've just purchased a beautiful new piece or want to upgrade an existing print, this guide will walk you through the process step by step. With the right materials and techniques, you can achieve a professional look without the cost of custom framing. Let's get started!

Learn How to Frame a Poster Like a Pro
Framing a poster at home doesn’t have to be complicated. With the right frame, proper preparation, and careful hanging, you can showcase your artwork beautifully. Follow this guide for easy and effective framing.
Quick Step-by-Step Guide
- Choose the Right Frame – Select a frame that matches your poster size and complements your decor.
- Prepare Your Poster – Flatten it if needed and clean both the poster and the frame's glass.
- Secure the Poster – Use acid-free tape or mounting corners to hold the poster in place.
- Assemble the Frame – Carefully insert the poster, secure the backing, and close the frame.
- Hang It Properly – Use the right wall hooks and a level to hang your framed poster straight.
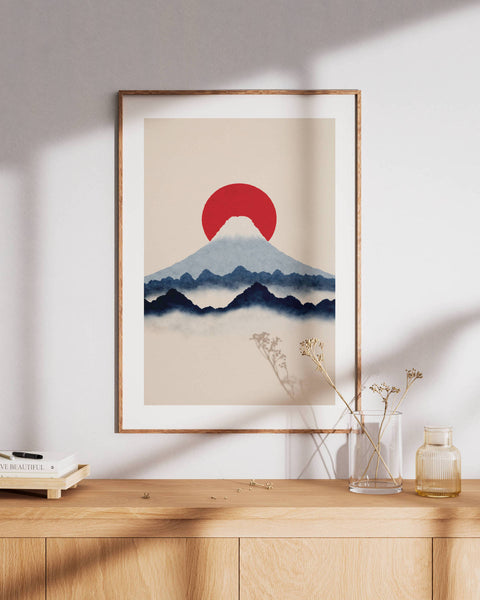
Choosing the Right Frame
A good frame enhances your artwork while keeping it safe from dust and damage. Selecting the right frame depends on the size, material, and type of glass or acrylic used.
Frame Size Matters
Picking the right frame size ensures your poster looks polished and professional. A frame that matches your poster’s exact size offers a clean, borderless look, while a slightly larger frame with a mat adds a gallery-style finish. A mat not only enhances presentation but also prevents the print from touching the glass, reducing moisture damage over time.
Material and Glass Options
Frames come in various materials, including wood, metal, and plastic. The right choice depends on your style and the print itself. Consider different glass options for durability and glare reduction.
- Acrylic (Plexiglass): Lightweight and shatterproof, great for larger prints.
- Standard Glass: Provides clear visibility but can be heavier.
- Non-Glare Glass: Reduces reflections, ideal for brightly lit rooms.
Preparing Your Poster
Before framing, take a few steps to ensure your poster looks perfect in its new home.
Flattening a Rolled Poster
Many posters arrive rolled, which can cause curling. Flatten it by placing heavy books on top for a few hours or rolling it in the opposite direction and securing it briefly with rubber bands. If needed, place the poster under a clean towel and apply low heat with an iron for stubborn creases.
Cleaning the Frame and Glass
Dust and fingerprints can affect the final look. Before inserting your poster, clean the frame and glass with a microfiber cloth to ensure a flawless display. A streak-free glass cleaner or a damp lint-free cloth works best to remove any smudges.
Securing the Poster Inside the Frame
The way you secure your poster affects its longevity and appearance. Avoid strong direct adhesives that can damage the print over time.
Using Tape or Mounting Corners
Keeping your poster in place is key to a professional look. Use one of these methods to secure it without causing damage:
- Acid-Free Tape: Attach small strips at the corners to prevent long-term damage.
- Photo Mounting Corners: A great non-permanent option that won’t harm the print.
- Foam Backing Board: Helps maintain rigidity and prevents sagging over time.
If you're using a mat, ensure the poster sits evenly behind it before securing it in place.
Assembling and Hanging the Frame
Once your poster is secured, assembling and hanging the frame correctly ensures a professional and stable display.
Putting Everything Together
Carefully position the poster inside the frame, ensuring it’s aligned correctly. Secure the backing and remove any dust or air bubbles before sealing. If your frame has rotating tabs, make sure they are firmly locked in place.
Hanging Your Poster
A well-hung frame enhances your space and keeps your artwork safe. Follow these tips for the best results:
- Use Picture Hooks: Choose hooks suited to your wall type (drywall, brick, etc.).
- Measure and Level: Mark the hanging spot before installing hardware.
- Consider a Gallery Wall: Arranging multiple prints? Lay them out on the floor first for the best layout.
- Use Command Strips: If you prefer a no-nail option, heavy-duty adhesive strips work well for lightweight frames.
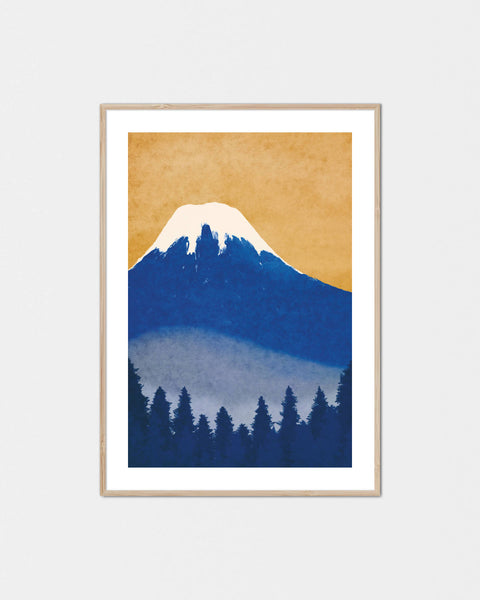
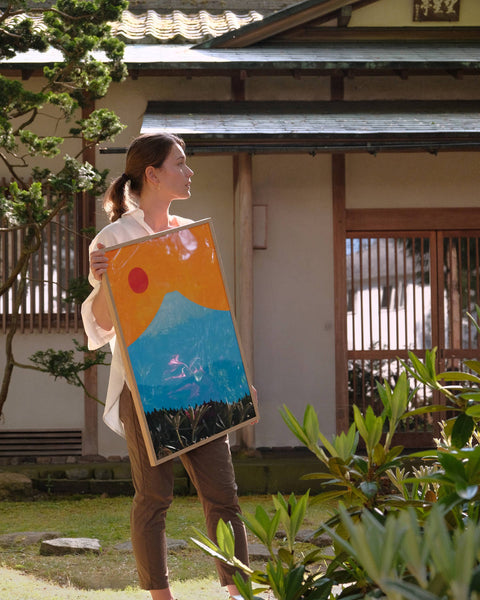
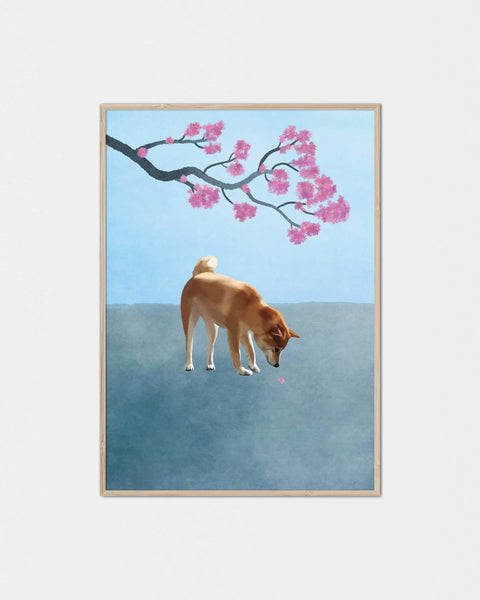
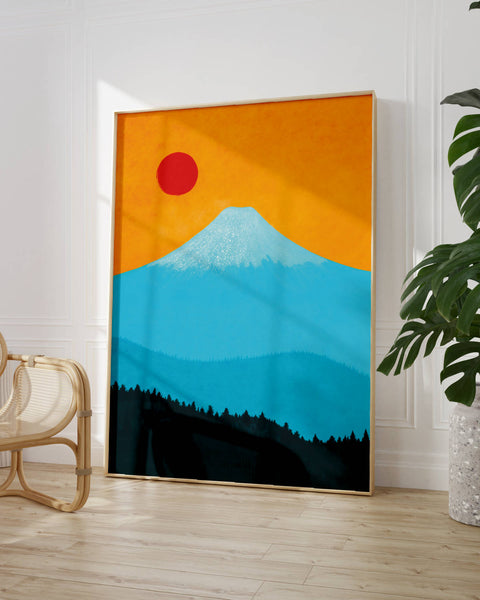
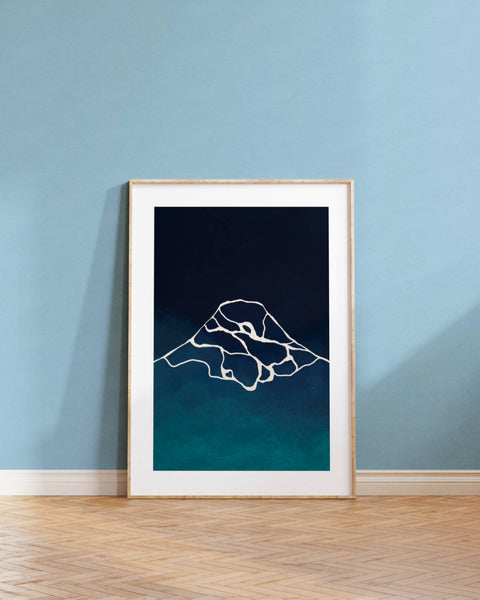
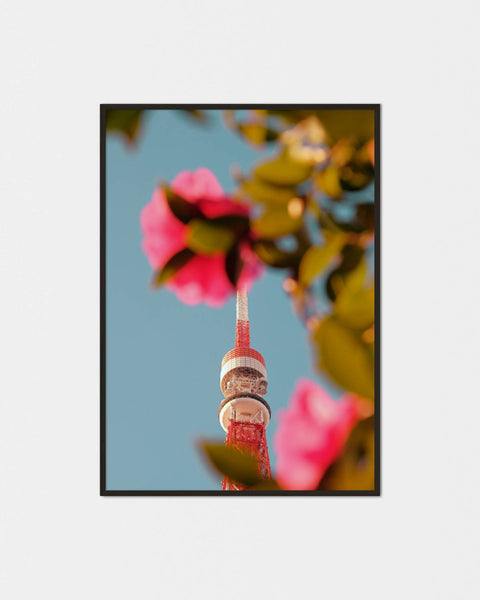
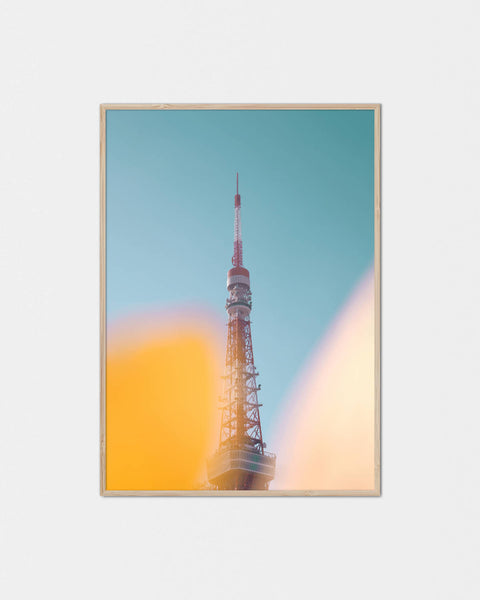
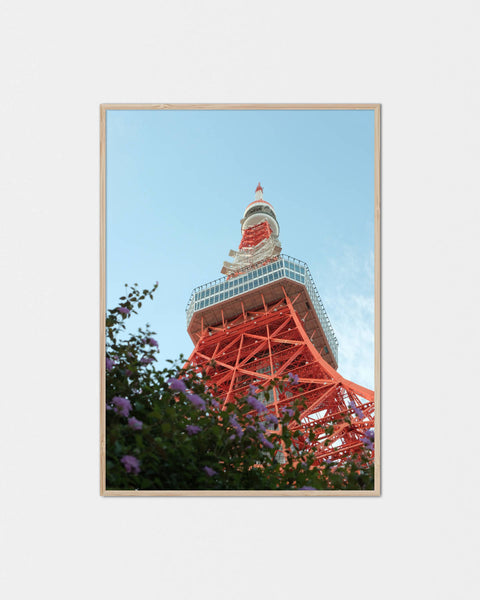
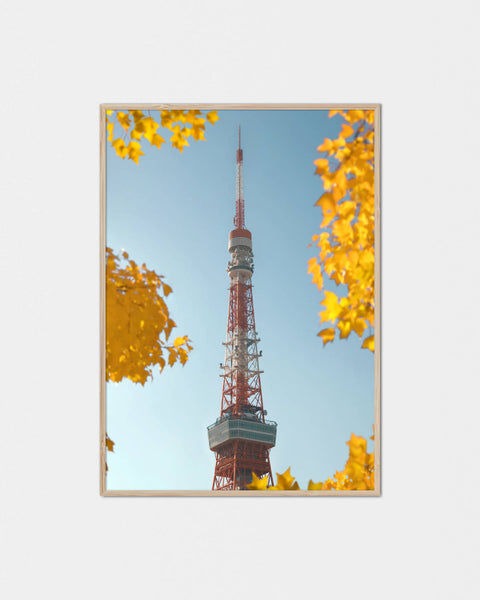
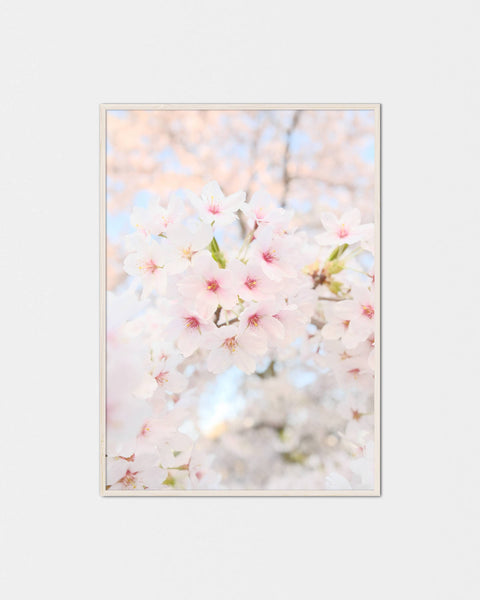
Discover the Beauty of Japanese Print Art
Framing a poster is more than just preserving an image—it’s about bringing beauty into your space. If you’re looking for art that blends tradition with elegance, explore Japanese print art. Inspired by centuries-old woodblock prints (Ukiyo-e) and modern minimalism, these prints capture the harmony of nature, culture, and craftsmanship. From the iconic waves of Hokusai to serene cherry blossom landscapes, Japanese prints offer a timeless touch to any room.
Japanese art tells a story—one of nature’s tranquility, spirit of Mount Fuji, and breathtaking landscapes. Whether you admire the simplicity of Zen-inspired designs or the vivid storytelling of Edo-era prints, there’s a piece waiting to transform your space.
Elevate your space with a piece of Japanese artistry—explore our Japanese print art collection today!